Blog Archives
Hot cross buns – one a penny, two a penny
I’m not sure if you’ve noticed, but we are in the last week of Hot Cross Bun season — the final stretch.
Well, at least the Brits in the room are probably well aware. For Americans, well, it’s been a season of abominations. I’ve come across all kinds, including sweet dinner rolls studded with red and green fruit, others with lemon curd-like stuff where the dough cross should have been. The devil’s spawn in bread form.
It’s been enough to draw us into the kitchen. My husband has already made two batches of hot cross buns from a Delia Smith recipe (from her “Complete Cookery Course” cookbook) and it really has been a revelation. Is it easy? Not by any stretch of the imagination. But is it worth it? Oh yes!
Piecaken

Photo by David Burke Fabrick
On this Thanksgiving, I have to share what has to be one of the most whacked out culinary ideas ever. Ever! Piecaken!
Think turducken – but with pie and cake! How does it work?
Essentially envelope a layer of cake batter around a fully cooked pie, bake it up and then frost the whole thing. It’s a deeply illogical Frankensteinian creation and seems wrong on all sorts of levels, but also kind of right. Of course, I must eat this. Maybe something to work up to next Thanksgiving?
At any rate, happy Thanksgiving! For those celebrating, have a wonderful turkey day with family and friends!
Victoria Sponge success
Ages ago — ages and ages, long before kids, the Kardashians and the invention of cronuts — I loved Nigella Lawson’s cookbook, “How to be a Domestic Goddess.” It was a great cookbook, filled with recipes for breads, cakes, cookies and puddings.
And then I made her Victoria Sponge recipe and it made me rethink everything that I once believed to be true. I don’t actually remember why it was so bad. I just remember not even eating it and throwing it away. I made a small note at the top of the recipe “BAD 😦 ” and haven’t tried making this cake again.
Fast forward all of these years and my daughter wanted to have high tea at home so a cake was in order. I looked for a recipe – so many British recipes were still in British measurements and I didn’t have the energy or inclination to do the conversions. So I found one on Food.com that got nearly 5 stars and took a gamble.
As it turned out, then gamble paid off. The cake was so moist and delicious and ridiculously easy to make. The only adjustment I made was to double the recipe since my cake tins were larger than 8 inches (how large? I have no idea – again, I didn’t have the energy to measure them).
VICTORIA SPONGE CAKE
INGREDIENTS
3 large eggs, weighed in their shells
butter or soft margarine
caster sugar
self-rising flour
raspberry jam (or jam, jelly or curd of your choice. I used Bonne Maman’s Four Fruits preserve)
powdered sugar to dust on top
DIRECTIONS
The measurements for this recipe are equal amounts of sugar, flour and fat to the weight of the eggs. Weigh the eggs first – if the eggs weigh 8 ounces, you will use 8 ounces of sugar, 8 ounces of butter or margarine and 8 ounces of flour. If the eggs weigh 6 ounces, all the other ingredients will be 6 ounces – easy!
Set oven Gas 4 160C (fan oven), 180C or 360F: grease and base line the bottom of 2 x 8” sandwich tins – cake tins.
Cream margarine or butter together with the sugar, until light and fluffy.
Beat the eggs, and then add them to the mixture, gradually and beating well after each addition.
Sieve the flour and fold into the mixture with a metal spoon.
Divide equally between the 2 prepared tins and bake for 25 minutes in the middle of the oven.
Remove and allow to cool for 1-2 minutes.
Remove from the tins and fill with raspberry jam when cold, to avoid the jam seeping into the sponge.
A light dusting of powdered sugar on the top will finish it.
Place on an attractive cake stand or plate, and serve in dainty wedges with freshly brewed tea.
If you use butter remove from the fridge to soften before using. This is not necessary with soft margarine.
If large eggs are used they may weigh 7 ½ ozs/210g. If so make sure you use this weight for the other ingredients.
A smaller sandwich cake can be made with 2 medium eggs. Weight about 4 oz/55g. If so, use 2 x 7” sandwich tins and the cakes and the cakes will need less time in the oven – probably 20mins.
Serves 6-8.
Another year, another coffee and walnut cake
My husband celebrated his birthday on Saturday, which, of course means one thing: Coffee and walnut cake.
I was running around on Saturday morning, making a nice birthday breakfast, getting ready to take my daughter to a birthday party, wrapping presents, brushing teeth and negotiating the time it would take to bake the cake. Thankfully, I had blogged last year sending a message to Future Me about the ease of cooking this Nigella Lawson recipe and Past Me was entirely correct.
It was a breeze to make. 10 minutes prep. 25 minutes in the oven. Then boom! Done.
So hi, hi, American pie

I did something very American last weekend. I baked some apple pie.
I’m not a pie maker, but the whole autumn-ness of this season struck me and I decided I needed to eschew crumble for something doughy, flaky and piping hot. My husband picked up some really good pie crust from the Co-op – so much better than Pillsbury (hey, don’t judge me, I don’t judge you) and it proved to make all the difference.
When a birthday calls for coffee and walnut cake …

My husband’s birthday is this month and I surprised him by making his favorite cake – a coffee and walnut cake. I first tried a recipe for this time last year and this year, I went back to it. If it’s not broken, why fix it, right?
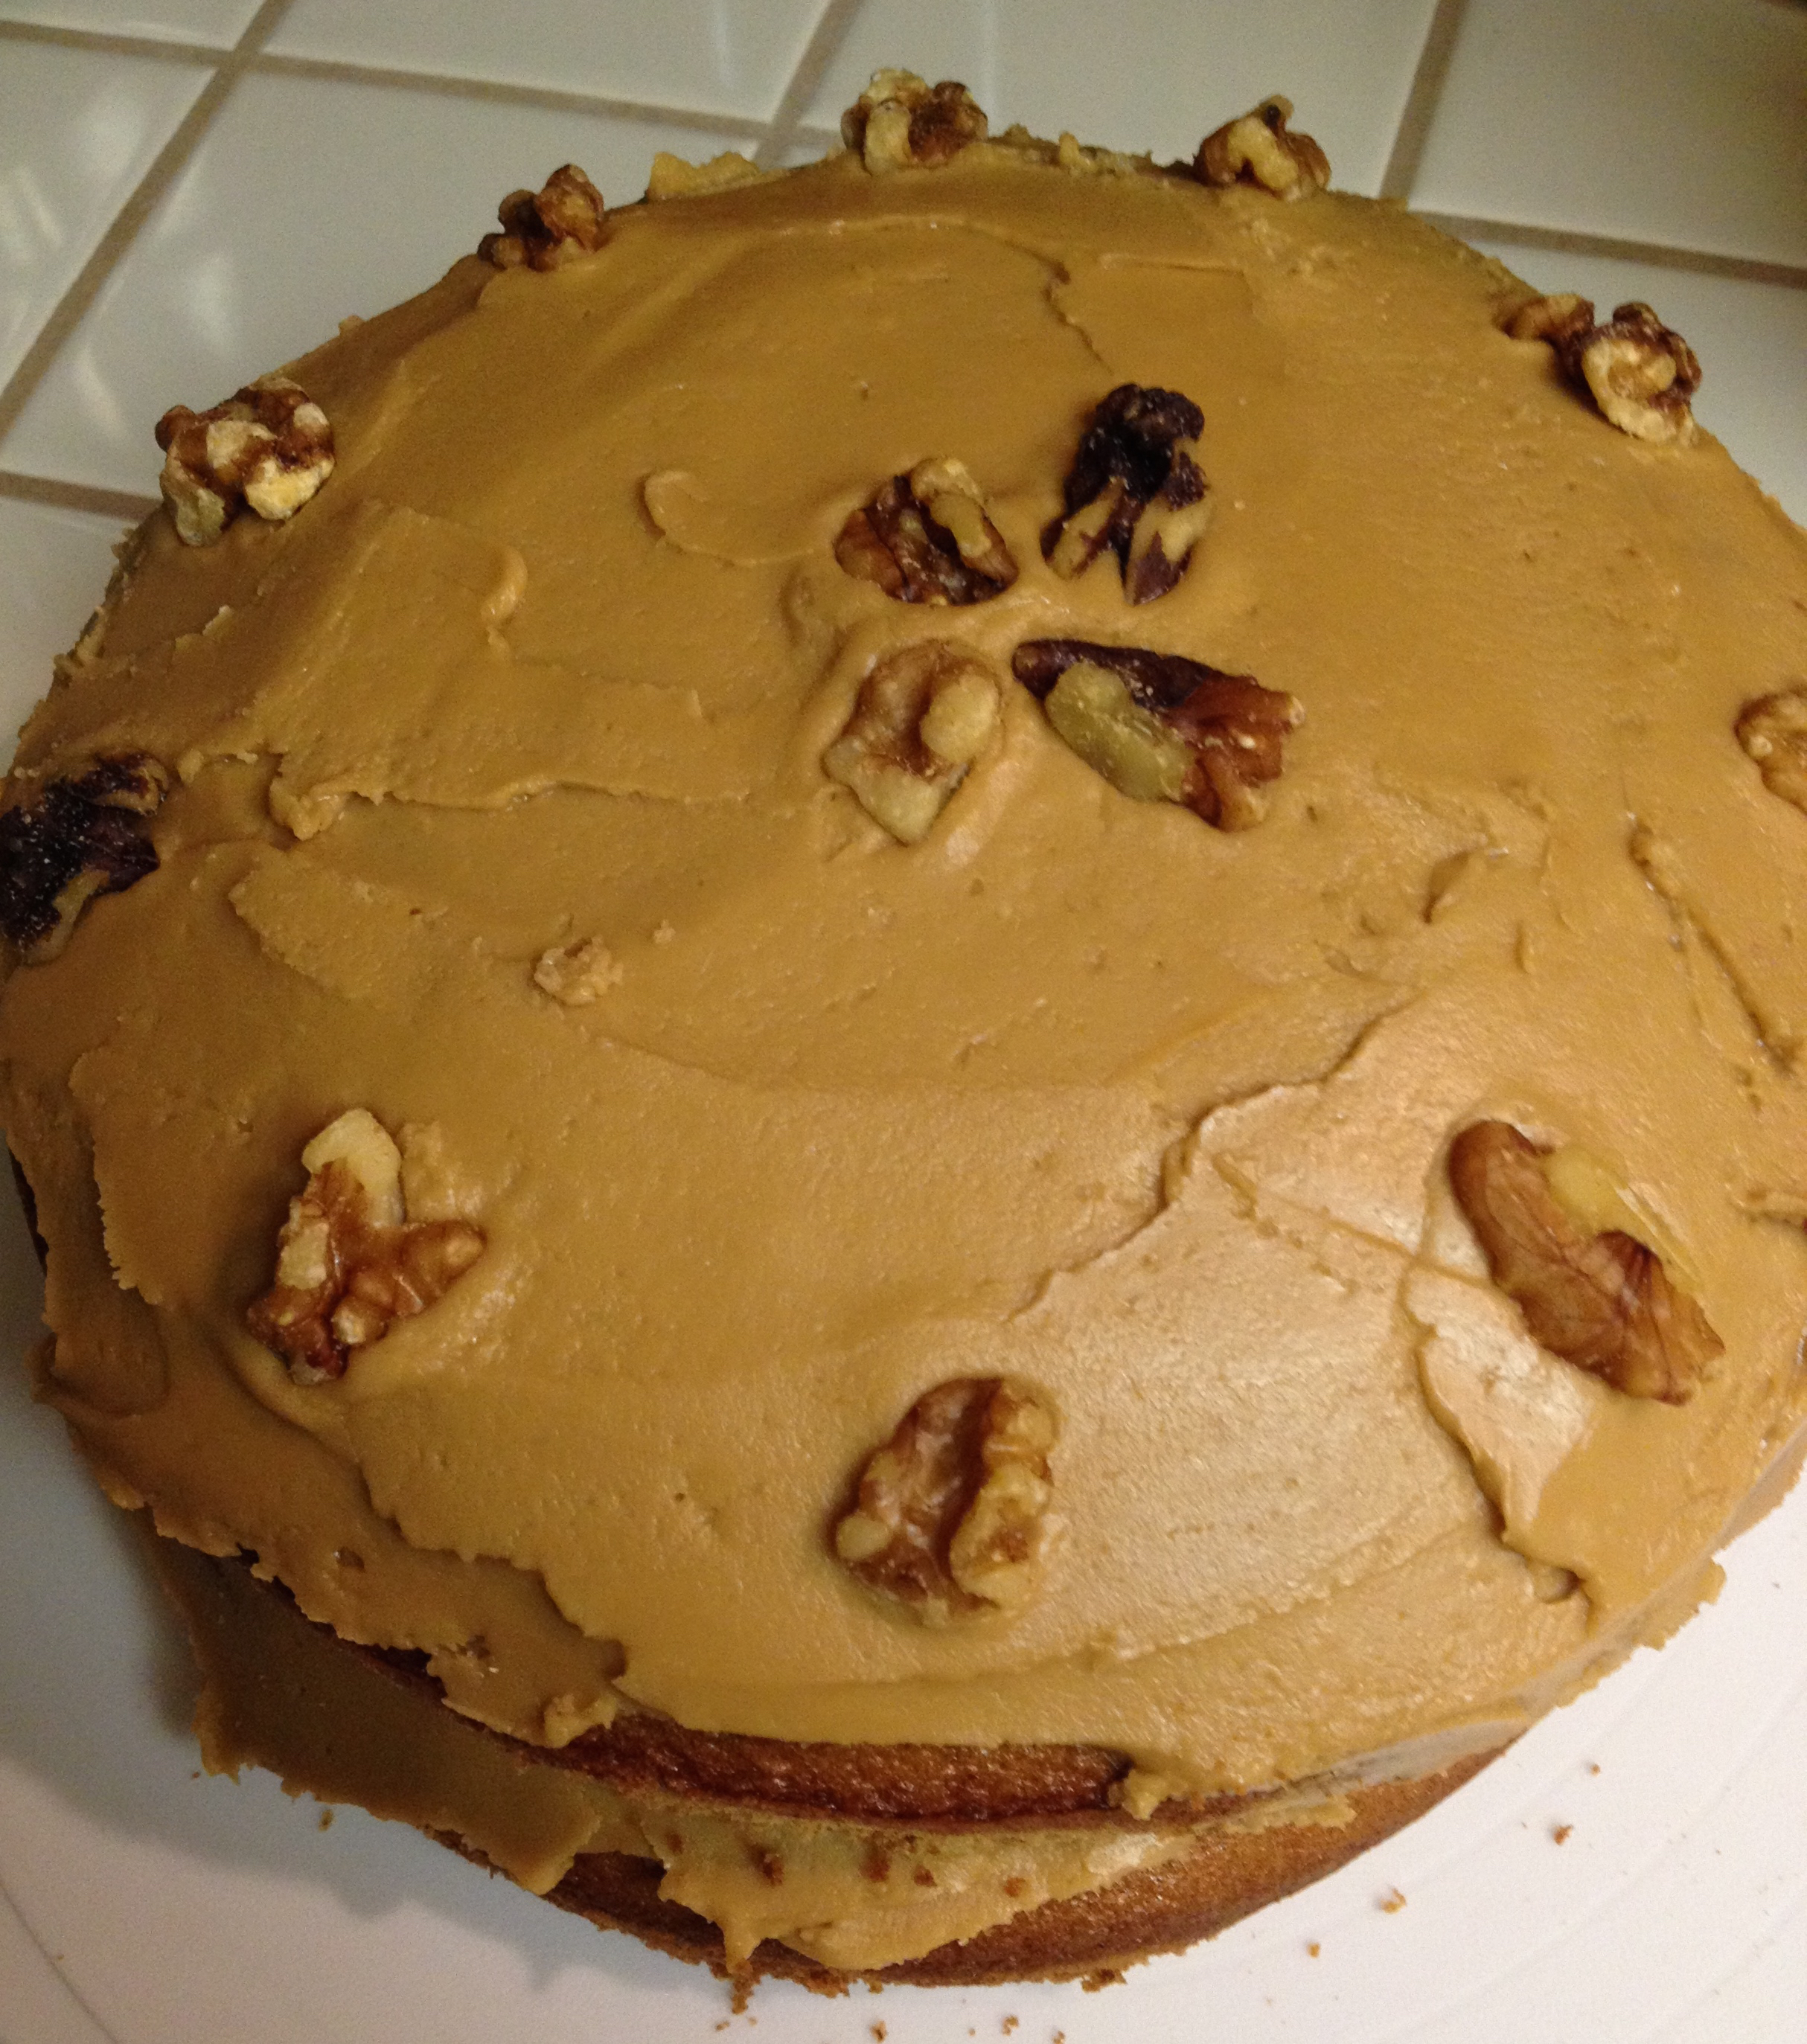
Nigella Lawson’s recipe (from her “Nigella Kitchen” cookbook) proved again to be such a winning, no-nonsense recipe that I vowed to make it my go-to cake (which is exactly what I said last year). My husband adored it. My kids licked their plates clean and begged for more. And really – it is the easiest recipe. The problem, I fear, is that “coffee and walnut cake” still conjures up some mental images of slaving in the kitchen, crushing walnuts with my bear hands, agonizing over brewed espresso, and so forth and so on, that I’m actually immobilized when I think of making it, even when I rationally know it was easy enough to do the last time around.
I will let this blog post be a little pep talk to my future self. Self, make this cake again! It tastes amazing and is really shockingly fool-proof! Oh yes, and as a general buttercream frosting phobe, I must add that the espresso-ed up buttercream frosting is ridiculously delicious and would make anyone a believer.
Here’s the recipe again!
COFFEE AND WALNUT LAYER CAKE
For the sponge
1/2 cup walnuts (pieces)
1 cup plus 2 tablespoons superfine sugar
2 sticks unsalted butter (soft (plus some for greasing))
1 1/3 cups plain flour
4 teaspoon(s) instant espresso powder
2.5 teaspoon(s) baking powder
½ teaspoon(s) baking soda
4 medium egg(s)
2 tablespoon(s) milk
For the buttercream frosting
3 1/4 cups powdered sugar
1 1/2 sticks unsalted butter (softened)
2.5 teaspoon(s) instant espresso powder, dissolved in 1 tablespoon boiling water
approximately 10 walnut halves
Preheat the oven to 350 degrees. Butter the 2 8-inch round cake pans and line the base of each with parchment paper.
Put the walnut pieces and sugar into a food processor and blitz to a fine nutty powder.
Add the 2 sticks of butter, flour, 4 teaspoons espresso powder, baking powder, baking soda and eggs and process to a smooth batter.
Add the milk, pouring it down the funnel with the motor still running, or just pulsing, to loosen the cake mixture: it should be a soft, dropping consistency, so add more milk if you need to. (If you are making this by hand, bash the nuts to a rubbly powder with a rolling pin and mix with the dry ingredients; then cream the butter and sugar together, and beat in some dry ingredients and eggs alternately and, finally, the milk.)
Divide the mixture between the 2 cake pans and bake in the oven for 25 minutes, or until the sponge has risen and feels springy to the touch.
Cool the cakes in their tins on a wire rack for about 10 minutes, before turning them out onto the rack and peeling off the parchment paper.
When the sponges are cool, you can make the buttercream.

To make the frosting:
Pulse the powdered sugar in the food processor until it is lump free, then add the butter and process to make a smooth icing.
Dissolve the instant espresso powder in 1 tablespoon boiling water and add it while still hot to the processor, pulsing to blend into the buttercream.
If you are doing this by hand, sieve the icing sugar and beat it into the butter with a wooden spoon. Then beat in the hot coffee liquid.
Place 1 sponge upside down on your cake stand or serving plate.
Spread with about half the icing; then place on it the second sponge, right side up (i.e. so the 2 flat sides of the sponges meet in the middle) and cover the top with the remaining icing in a ramshackle swirly pattern.
This cake is all about old-fashioned, rustic charm, so don’t worry unduly: however the frosting goes on is fine. similarly, don’t fret about some buttercream oozing out around the middle: that’s what makes it look so inviting.
Gently press the walnut halves into the top of the icing all around the edge of the circle about 1/2 inch apart.
Cuts into 8 generous slices.
The secret ingredient to perfect scones
Maybe it was hearing this story on NPR’s “Fresh Air” last week, but I’ve had “America’s Test Kitchen” on the brain and wanted to test drive one of their recipes.
This weekend, I decided to try a new current scone recipe and why not see WWATKD (What Would America’s Test Kitchen Do?)
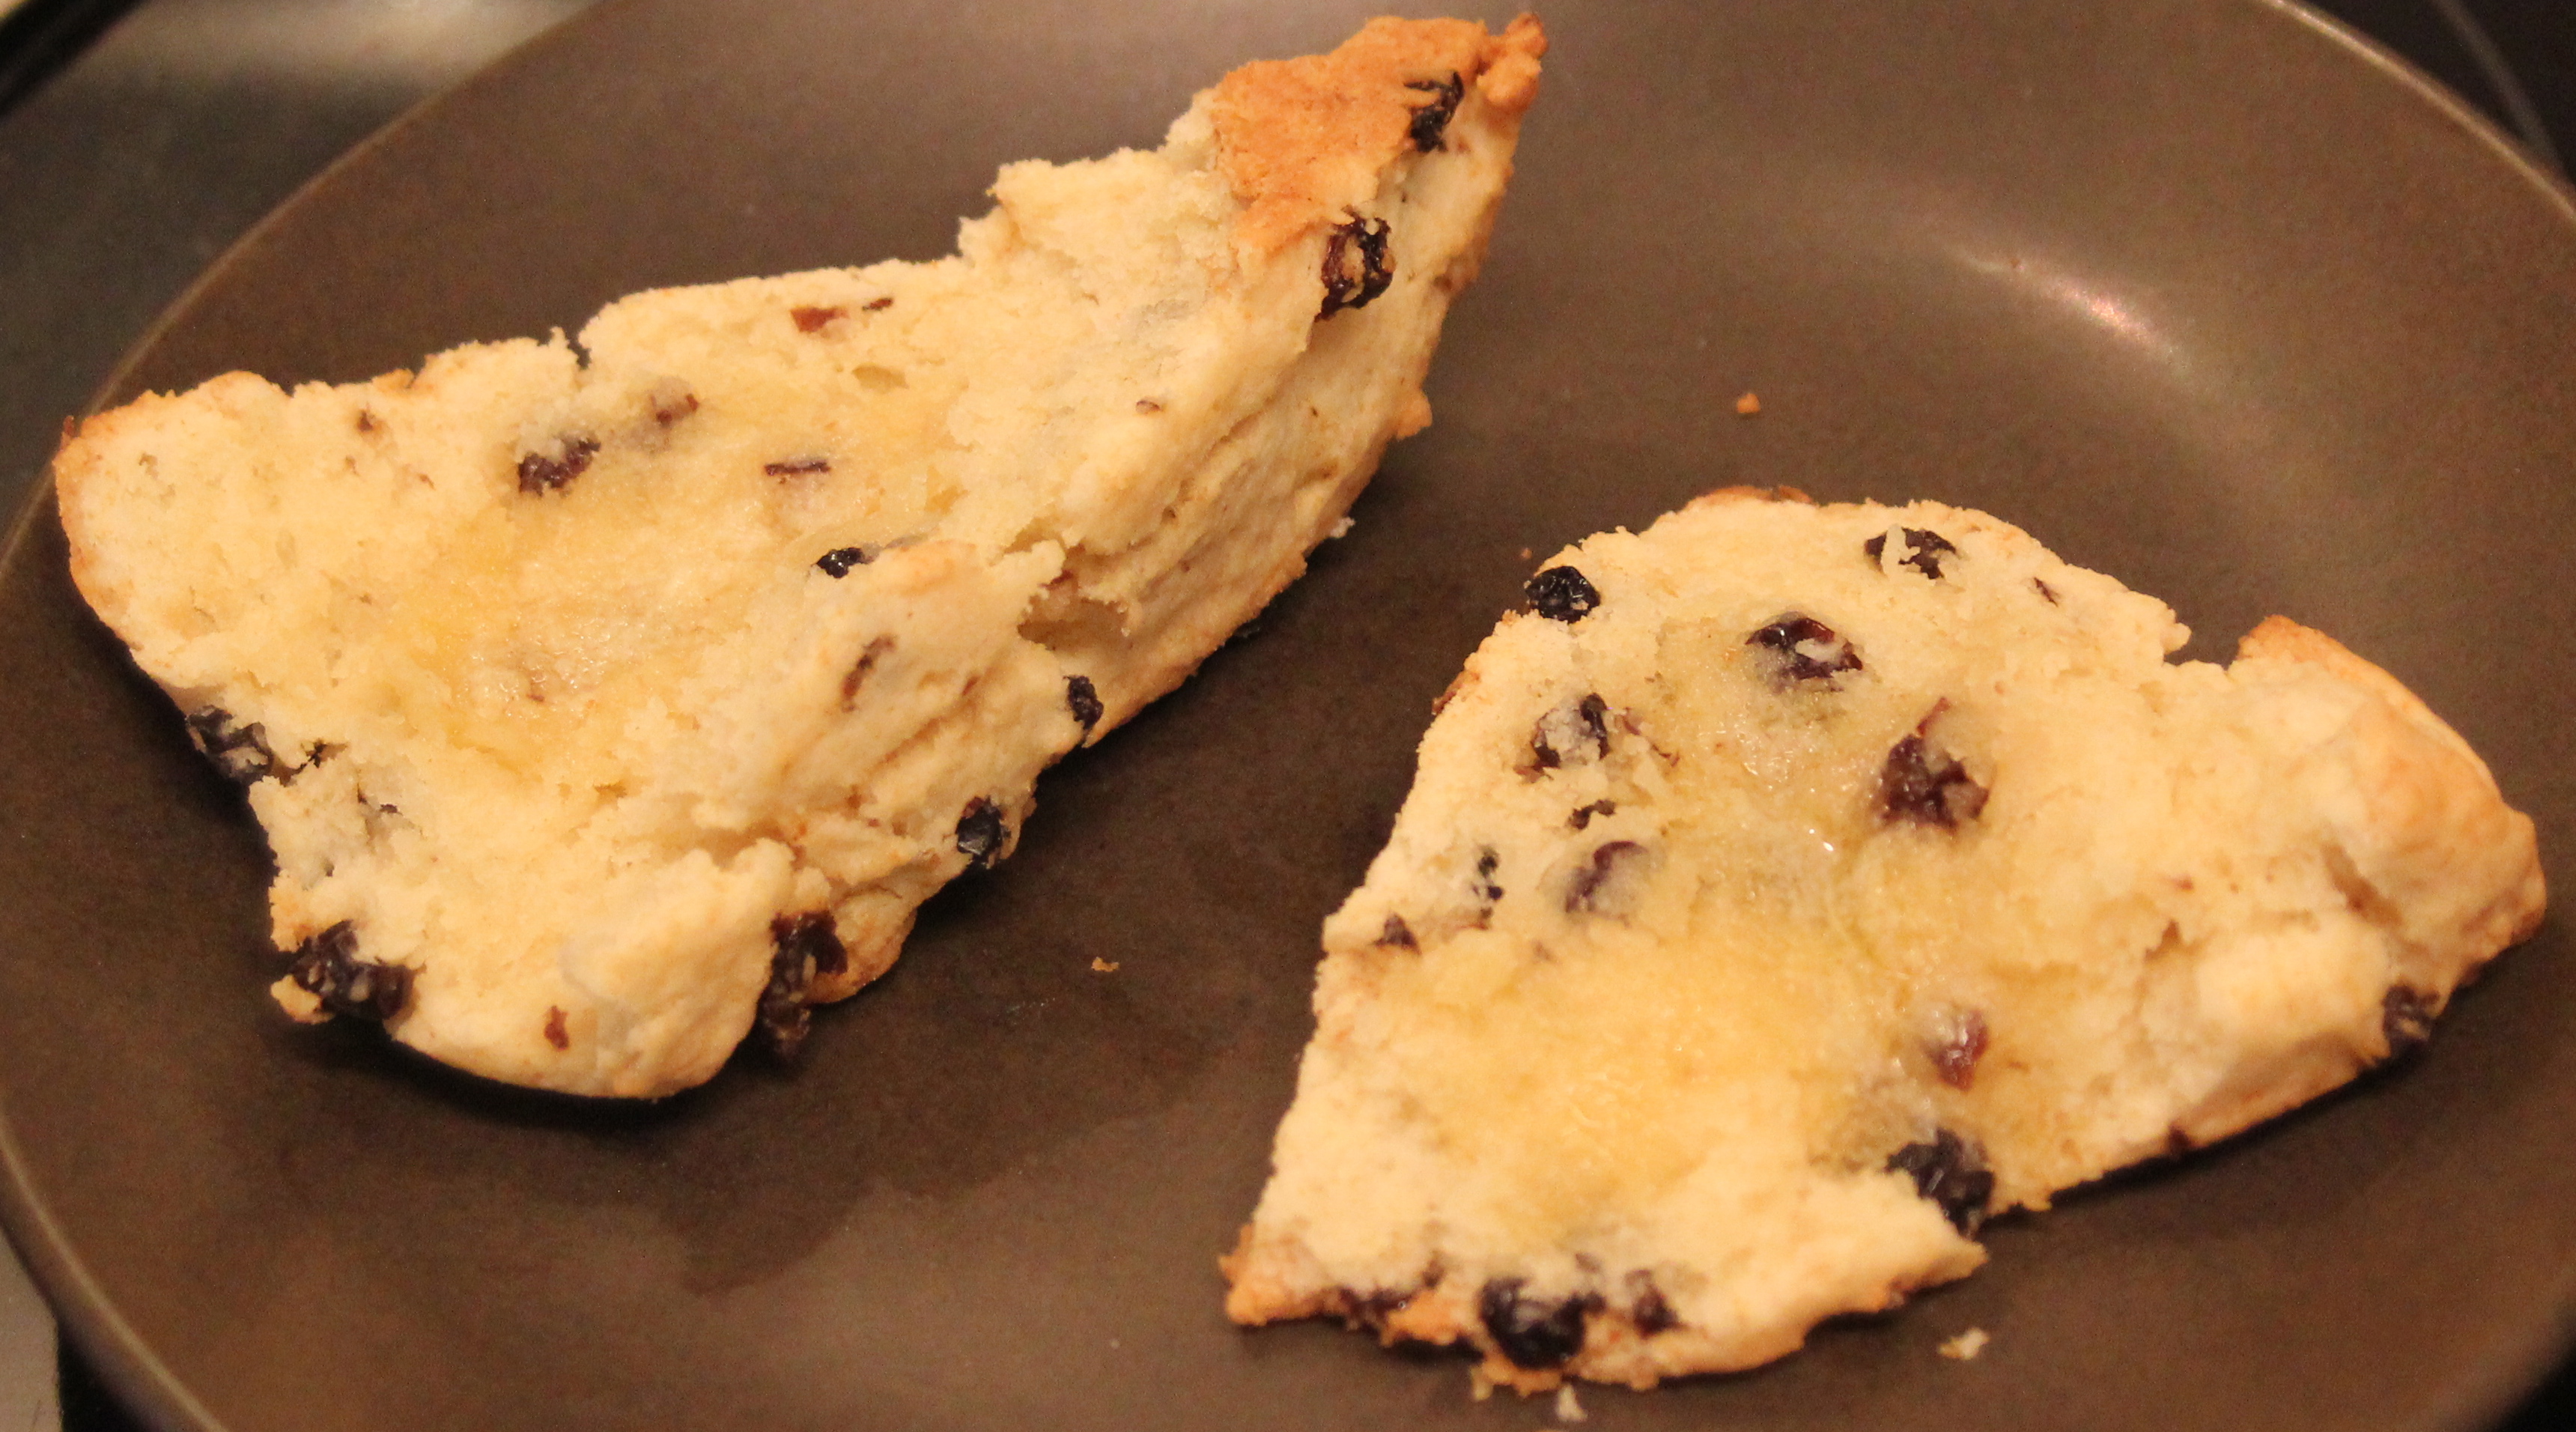
Their cream scone with currants recipe proved to be ridiculously amazing and even better than the Epicurious recipe that has been my go-to scone recipe for the past year. Scone agnostics need to check this out.

The secret ingredient? Cream. I know. It’s not very British. But tasting is believing!
Cream Scones with Currants
2 cups all-purpose flour, plus extra for the counter
3 tablespoons sugar
1 tablespoon baking powder
1/2 teaspoon salt
5 tablespoons unsalted butter, cut into 1/4-inch cubes and chilled
1/2 cup currants
1 cup heavy cream
1. Adjust an oven rack to the middle position and heat the oven to 450 degrees. Pulse the flour, sugar, baking powder, and salt together in a food processor to combine, about 6 pulses. Scatter the butter evenly over the top and pulse until the mixture resembles coarse cornmeal with a few slightly larger butter lumps, about 12 pulses.
2. Add the currants and quickly pulse once to combine. Transfer the dough to a large bowl. Stir in the cream with a rubber spatula until the dough begins to form, about 30 seconds.
3. Turn the dough and any floury bits out onto a floured counter and knead until it forms a rough, slightly sticky ball, 5 to 10 seconds. Press the dough into a 9-inch pan. Unmold the dough and cut into 8 wedges. Place the wedges on an ungreased baking sheet.
4. Bake until the scone tops are light brown, 12 to 15 minutes. Cool on a wire rack for at least 10 minutes. Serve warm or at room temperature.
Banana bread and the Brits
 Last week, I blogged about a new banana bread recipe I tried, which got me thinking … do Brits eat banana bread? Did it originate in America? And is this one our American culinary contributions that Brits have embraced like peanut butter and jelly sandwiches?
After doing a little research, I found a Guardian article that answered all of my questions and more. It did, in fact, originate stateside.
“Banana bread as we know it doesn’t appear in cookbooks until the 1930s. Food history website foodtimeline.org suggests that although it’s sometimes attributed to thrifty housewives looking to use up overripe fruit, all evidence points to the fact it was developed by banana companies to promote their wares – indeed ‘in the 1950s banana bread was actively promoted in nationally syndicated television cooking shows.’ Jane Grigson writes in her Fruit Book that it appeared in [the U.K.] after the war, when West Indian bananas returned to the shops – presumably once everyone had gorged themselves on the fruit in its natural state, they began to seek other ways to make the most of it.
Also it’s interesting to note that British recipes for banana bread usually includes baking powder, instead of baking soda (the recipe I tried last week was very American and included baking soda), which usually lends to a lighter, fluffier cake.
Banana bread serendipity
This week, I had an excess of slightly over ripe bananas and the desire to do some baking. What to do?

That same day, Ally from A Girl and Her Fork blogged about a recipe for banana bread that she had tried and loved. Simple ingredients, straightforward instructions. Bingo! I was sold. I made it the very next day.
The banana bread was legendary. Super moist, lots of depth of flavor, crispy on the edges, just delicious! If you’re in search for a go-to easy banana bread recipe, here’s the one!
Julia’s Best Banana Bread (Bon Appetit, March 2013)
Nonstick vegetable oil spray
1 3/4 cup all purpose flour
1 1/2 teaspoons baking soda
3/4 teaspoon kosher salt
3 large eggs
1 1/2 cups sugar
2 large ripe bananas, mashed
3/4 cup vegetable oil
Instructions
1. Preheat oven to 350° F. Coat a 9x5x3-inch loaf pan with nonstick spray.
2. Whisk flour, baking soda, and salt in a medium bowl. Whisk eggs, sugar, bananas, and oil in a large bowl until smooth. Add dry ingredients to banana mixture and stir just until combined. Scrape batter into prepared pan and smooth top.
3. Bake until a knife inserted into the center of bread comes out clean, 60-70 minutes. Transfer to a wire rack; let bread cool in pan for 15 minutes. Run a knife around inside of pan to release the bread. Turn out onto rack and let cool completely.
Cake that’s worth the wait
Good news! I made my husband the ultra-British coffee and walnut cake that I had promised! Even better, it was actually really good, thanks to a recipe from Nigella Lawson’s Nigella Kitchen cookbook!
Her version is very simple, particularly since all of the ingredients go straight into the food processor and are blitzed.

The “coffee” ingredient she recommends is instant espresso powder, which I didn’t even know existed, but was easy to find in our nearest grocery store.

After exactly 25 minutes, they were ready.

I waited 10 minutes as instructed before moving the cakes to the cooling racks. The cakes just eased out of the pans, as if on cue. It was amazing.

The frosting was also very simple to make (powdered sugar, butter and instant espresso powder in a little bit of boiling water) but was easily the best buttercream frosting recipe I’ve ever made. I was exceedingly proud of how pretty this cake turned out – just look!

I’ll definitely make it again in non-birthday circumstances. I can easily see this turning into my go-to cake to bake! Note: if you’re making the cake for kids, you can always tone down the caffeine quotient by replacing the 4 teaspoons of instant espresso powder with 2 teaspoons of instant coffee granules. (Or you can just serve it first thing in the morning and call it breakfast).
COFFEE AND WALNUT LAYER CAKE
For the sponge
1/2 cup walnuts (pieces)
1 cup plus 2 tablespoons superfine sugar
2 sticks unsalted butter (soft (plus some for greasing))
1 1/3 cups plain flour
4 teaspoon(s) instant espresso powder
2.5 teaspoon(s) baking powder
½ teaspoon(s) baking soda
4 medium egg(s)
2 tablespoon(s) milk
For the buttercream frosting
3 1/4 cups powdered sugar
1 1/2 sticks unsalted butter (softened)
2.5 teaspoon(s) instant espresso powder, dissolved in 1 tablespoon boiling water
approximately 10 walnut halves
Preheat the oven to 350 degrees. Butter the 2 8-inch round cake pans and line the base of each with parchment paper.
Put the walnut pieces and sugar into a food processor and blitz to a fine nutty powder.
Add the 2 sticks of butter, flour, 4 teaspoons espresso powder, baking powder, baking soda and eggs and process to a smooth batter.
Add the milk, pouring it down the funnel with the motor still running, or just pulsing, to loosen the cake mixture: it should be a soft, dropping consistency, so add more milk if you need to. (If you are making this by hand, bash the nuts to a rubbly powder with a rolling pin and mix with the dry ingredients; then cream the butter and sugar together, and beat in some dry ingredients and eggs alternately and, finally, the milk.)
Divide the mixture between the 2 cake pans and bake in the oven for 25 minutes, or until the sponge has risen and feels springy to the touch.
Cool the cakes in their tins on a wire rack for about 10 minutes, before turning them out onto the rack and peeling off the parchment paper.
When the sponges are cool, you can make the buttercream.
To make the frosting:
Pulse the powdered sugar in the food processor until it is lump free, then add the butter and process to make a smooth icing.
Dissolve the instant espresso powder in 1 tablespoon boiling water and add it while still hot to the processor, pulsing to blend into the buttercream.
If you are doing this by hand, sieve the icing sugar and beat it into the butter with a wooden spoon. Then beat in the hot coffee liquid.
Place 1 sponge upside down on your cake stand or serving plate.
Spread with about half the icing; then place on it the second sponge, right side up (i.e. so the 2 flat sides of the sponges meet in the middle) and cover the top with the remaining icing in a ramshackle swirly pattern.
This cake is all about old-fashioned, rustic charm, so don’t worry unduly: however the frosting goes on is fine. similarly, don’t fret about some buttercream oozing out around the middle: that’s what makes it look so inviting.
Gently press the walnut halves into the top of the icing all around the edge of the circle about 1/2 inch apart.
Cuts into 8 generous slices.
