Blog Archives
Happy (gluten-free) Pancake Day!
I hope you all had a wonderful Pancake Day yesterday!
 We took a slightly different route this year – still flying-by-the-seat-of-our-pants to make crepes on a school night, but this year, we threw in the added challenge of making a gluten-free version.
We followed our tried-and-tested recipe from Chocolate & Zucchini, with a couple of tweaks. We replaced the flour with Cup4Cup, Thomas Keller’s stellar gluten-free flour, and added more milk to thin out the batter. The end result was a crepe that was so pitch perfect, you would never in a million years guess that it was gluten-free, which is really the goal, right?
Kids topped it with lemon and sugar, and then on round two, spread it with Nocciolata, an organic hazelnut spread with cocoa and milk, and were in dessert heaven.
As for me, I went au natural, scoffing it straight sans spread and it was delicious. Here’s the recipe.
Gluten-free Crepes
250 g (2 C) flour (gluten-free like Cup4Cup or all-purpose)
3 eggs
1/4 L (1 C) milk
100 g (1/3 C) sugar
2 tsp vanilla extract
2 Tbsp vegetable oil
1/4 L (1 C) still water
butter for cooking, and an assortment of toppings
In a large mixing-bowl, roughly combine the flour and eggs. Whisk in the milk, adding it slowly to avoid lumps. Add in the sugar, vanilla, oil and rum (if using), and whisk to combine thoroughly. Whisk in the water. Cover with plastic wrap and refrigerate for at least two hours, preferably overnight.
Take the bowl of batter out of the fridge, and give it a whisk to “revive” it. Put a thick-bottomed, low-rimmed frying pan over high heat. Wait until it gets very hot (hot enough to make a drop of water sizzle). Melt a dab of butter in it, and spread the butter evenly in the pan with a wadded paper towel (watch your fingers).
Ladle a little batter in the pan (just enough to cover the pan thinly, we are not making pancakes here), and move the pan around so the batter forms an even disk. Wait until the edges of the crêpe start to pull slightly away from the sides of the pan, peek underneath, and flip the crêpe with a spatula when it is nice and golden. Cook for a few more seconds (the second side cooks much faster) and serve immediately, topped/stuffed/rolled/spread with the sweet condiment of your choice.
What if Gordon Ramsay went nuts on “Masterchef Junior” kids?
What would happen if Gordon Ramsay treated the contestants on “Masterchef Junior” like contestants on “Hell’s Kitchen”?
Someone just put the two into a blender and, well, the results are quite magnificent. NSFW on account of the crazy bad language.
Victoria Sponge success
Ages ago — ages and ages, long before kids, the Kardashians and the invention of cronuts — I loved Nigella Lawson’s cookbook, “How to be a Domestic Goddess.” It was a great cookbook, filled with recipes for breads, cakes, cookies and puddings.
And then I made her Victoria Sponge recipe and it made me rethink everything that I once believed to be true. I don’t actually remember why it was so bad. I just remember not even eating it and throwing it away. I made a small note at the top of the recipe “BAD 😦 ” and haven’t tried making this cake again.
Fast forward all of these years and my daughter wanted to have high tea at home so a cake was in order. I looked for a recipe – so many British recipes were still in British measurements and I didn’t have the energy or inclination to do the conversions. So I found one on Food.com that got nearly 5 stars and took a gamble.
As it turned out, then gamble paid off. The cake was so moist and delicious and ridiculously easy to make. The only adjustment I made was to double the recipe since my cake tins were larger than 8 inches (how large? I have no idea – again, I didn’t have the energy to measure them).
VICTORIA SPONGE CAKE
INGREDIENTS
3 large eggs, weighed in their shells
butter or soft margarine
caster sugar
self-rising flour
raspberry jam (or jam, jelly or curd of your choice. I used Bonne Maman’s Four Fruits preserve)
powdered sugar to dust on top
DIRECTIONS
The measurements for this recipe are equal amounts of sugar, flour and fat to the weight of the eggs. Weigh the eggs first – if the eggs weigh 8 ounces, you will use 8 ounces of sugar, 8 ounces of butter or margarine and 8 ounces of flour. If the eggs weigh 6 ounces, all the other ingredients will be 6 ounces – easy!
Set oven Gas 4 160C (fan oven), 180C or 360F: grease and base line the bottom of 2 x 8” sandwich tins – cake tins.
Cream margarine or butter together with the sugar, until light and fluffy.
Beat the eggs, and then add them to the mixture, gradually and beating well after each addition.
Sieve the flour and fold into the mixture with a metal spoon.
Divide equally between the 2 prepared tins and bake for 25 minutes in the middle of the oven.
Remove and allow to cool for 1-2 minutes.
Remove from the tins and fill with raspberry jam when cold, to avoid the jam seeping into the sponge.
A light dusting of powdered sugar on the top will finish it.
Place on an attractive cake stand or plate, and serve in dainty wedges with freshly brewed tea.
If you use butter remove from the fridge to soften before using. This is not necessary with soft margarine.
If large eggs are used they may weigh 7 ½ ozs/210g. If so make sure you use this weight for the other ingredients.
A smaller sandwich cake can be made with 2 medium eggs. Weight about 4 oz/55g. If so, use 2 x 7” sandwich tins and the cakes and the cakes will need less time in the oven – probably 20mins.
Serves 6-8.
Basil, Pea and Pancetta Tart

Is this stock art? Sorry, but yes. We dived into the one we made minutes after taking it out of the oven, before thinking of taking a photo. But for the record, it did look this good.
This weekend, we had a lovely lunch at home with a friend that I haven’t seen in quite a while. I always love a good catch up – especially when it’s accompanied by some delish food!
We made a basil, pea and pancetta tart (and by “we,” I mean the royal “we,” in which my husband did all the cooking and I did the hard part of going to Whole Foods and purchasing the ingredients required.)
The recipe comes from BBC Good Food and will certainly join the summer tomato tart in our summer cooking repertoire (and by “our,” I mean the royal “our” in which I helpfully suggest delicious winning dishes, and my husband kindly does the cooking. Are you sensing a pattern?).
I’ve tweaked a bit of the recipe for American purposes but some of it was eyeballing and guesstimation while the royal “we” went along, and “we” did use scales for weight.
INGREDIENTS
284ml pot double cream
large bunch basil
1 pack shortcrust pastry (or make your own)
plain flour, for rolling out
175g frozen broad beans, defrosted and podded
1 bag frozen petits pois, defrosted
105g thinly sliced pancetta (we used cubed prosciutto instead)
3 eggs, plus 1 yolk
50g parmesan, finely grated, plus shavings to serve
Bring the cream to the boil in a small saucepan, then take off the heat and drop in half the bunch of basil, making sure all the leaves and stems are fully immersed. Leave to infuse for at least an hour. Transfer to a lidded container and chill once cool, if preparing the day before. Meanwhile, roll the pastry out on a floured surface to about the thickness of 2 x £1 coins and use to line a 23cm loose-bottom tart tin. Chill on a baking sheet until ready to use.
Blanch the broad beans in a pan of boiling water for 1 min. Add the peas, bring back to the boil for another min, then drain and cool quickly under the cold tap. Drain, then dry on kitchen paper. Set aside. Heat grill to medim and cook the pancetta until it is crisp and golden, setting aside on kitchen paper to absorb any fat. Can be prepared up to this stage a day ahead.
Heat oven to 400 degrees F and put a second baking sheet in the oven. Line the pastry case with parchment and fill with baking beans. Slide the tin onto the hot baking sheet and bake blind for 15 mins, then lift out the paper and beans and cook for 5 mins more, until the pastry feels sandy. Meanwhile, strain the cream through a sieve, pressing the basil against the mesh with a non-metallic spoon or spatula to extract as much of the flavour as possible.
Turn oven down to 300 degrees F. Beat the eggs into the cream, stir in the parmesan and season to taste. Tear the pancetta and sprinkle into the case, along with the peas and beans. Pour in the egg and cream mix. (You may have a little left, depending on the depth of your tin.) Bake for about 50 mins-1 hr or until the custard is just set in the middle. Serve warm or cold, topped with shavings of parmesan and the remaining basil leaves.
Recipe from Good Food magazine, April 2006
Rachel’s English trifle in real life
Okay, who remembers Rachel’s English trifle from “Friends”?
Well, someone in the U.K. has made it – with beef sautéed with peas and onions. And the sight of this might be one of the highlights of my day.
If you missed seeing that winning episode the first go round, here is a snippet!
Another year, another coffee and walnut cake
My husband celebrated his birthday on Saturday, which, of course means one thing: Coffee and walnut cake.
I was running around on Saturday morning, making a nice birthday breakfast, getting ready to take my daughter to a birthday party, wrapping presents, brushing teeth and negotiating the time it would take to bake the cake. Thankfully, I had blogged last year sending a message to Future Me about the ease of cooking this Nigella Lawson recipe and Past Me was entirely correct.
It was a breeze to make. 10 minutes prep. 25 minutes in the oven. Then boom! Done.
New year, new pasta
 Happy 2014 to you! I hope you had a wonderful holiday break!
We traveled down to Southern California to visit some of my family and friends before Christmas, enjoyed Christmas Eve, Christmas Day and Boxing Day here at home, and then headed to Lake Tahoe for a few days of R&R with friends! It was sadly snow-free, but still splendidly beautiful! We were able to do some ice skating, tubing and sitting in front of a roaring fire drinking hot chocolate. Idyllic!
I decided to kick off the new year by cracking open some cookbooks and finding a new lunch recipe that the kids might enjoy: Nigella Lawson‘s Spaghetti with Marmite recipe sounded deviously simple so I gave it a try. “I haven’t as yet found a child who doesn’t like it,” she wrote in “Nigella Kitchen” and I was sold.
What a recipe! It is so savory and great! My son had three helpings! I had two! My daughter had one! And my husband, who hates Marmite, enjoyed a bowl and couldn’t detect Marmite in the flavor (although he did comment that the kitchen smelled a little Marmite-y). Try this recipe for a quick, no-nonsense pasta dish that kids (and grown-ups alike) will love!

Spaghetti with Marmite
Serves 4-6, depending on age and appetite
12 ounces dried spaghetti
3 tbsp unsalted butter
1 tsp Marmite, or more to taste
freshly grated Parmesan cheese, to serve
Cook spaghetti in plenty of boiling salted water
When the pasta is almost cooked, melt the butter in a small saucepan and add the Marmite and 1 tbsp of the pasta water, mixing thoroughly to dissolve. Reserve 1/2 cup of pasta water; then drain the pasta and pour the Marmite mixture over the drained spaghetti, adding a little reserved pasta water to amalgamate if required. Serve with plenty of grated Parmesan cheese.
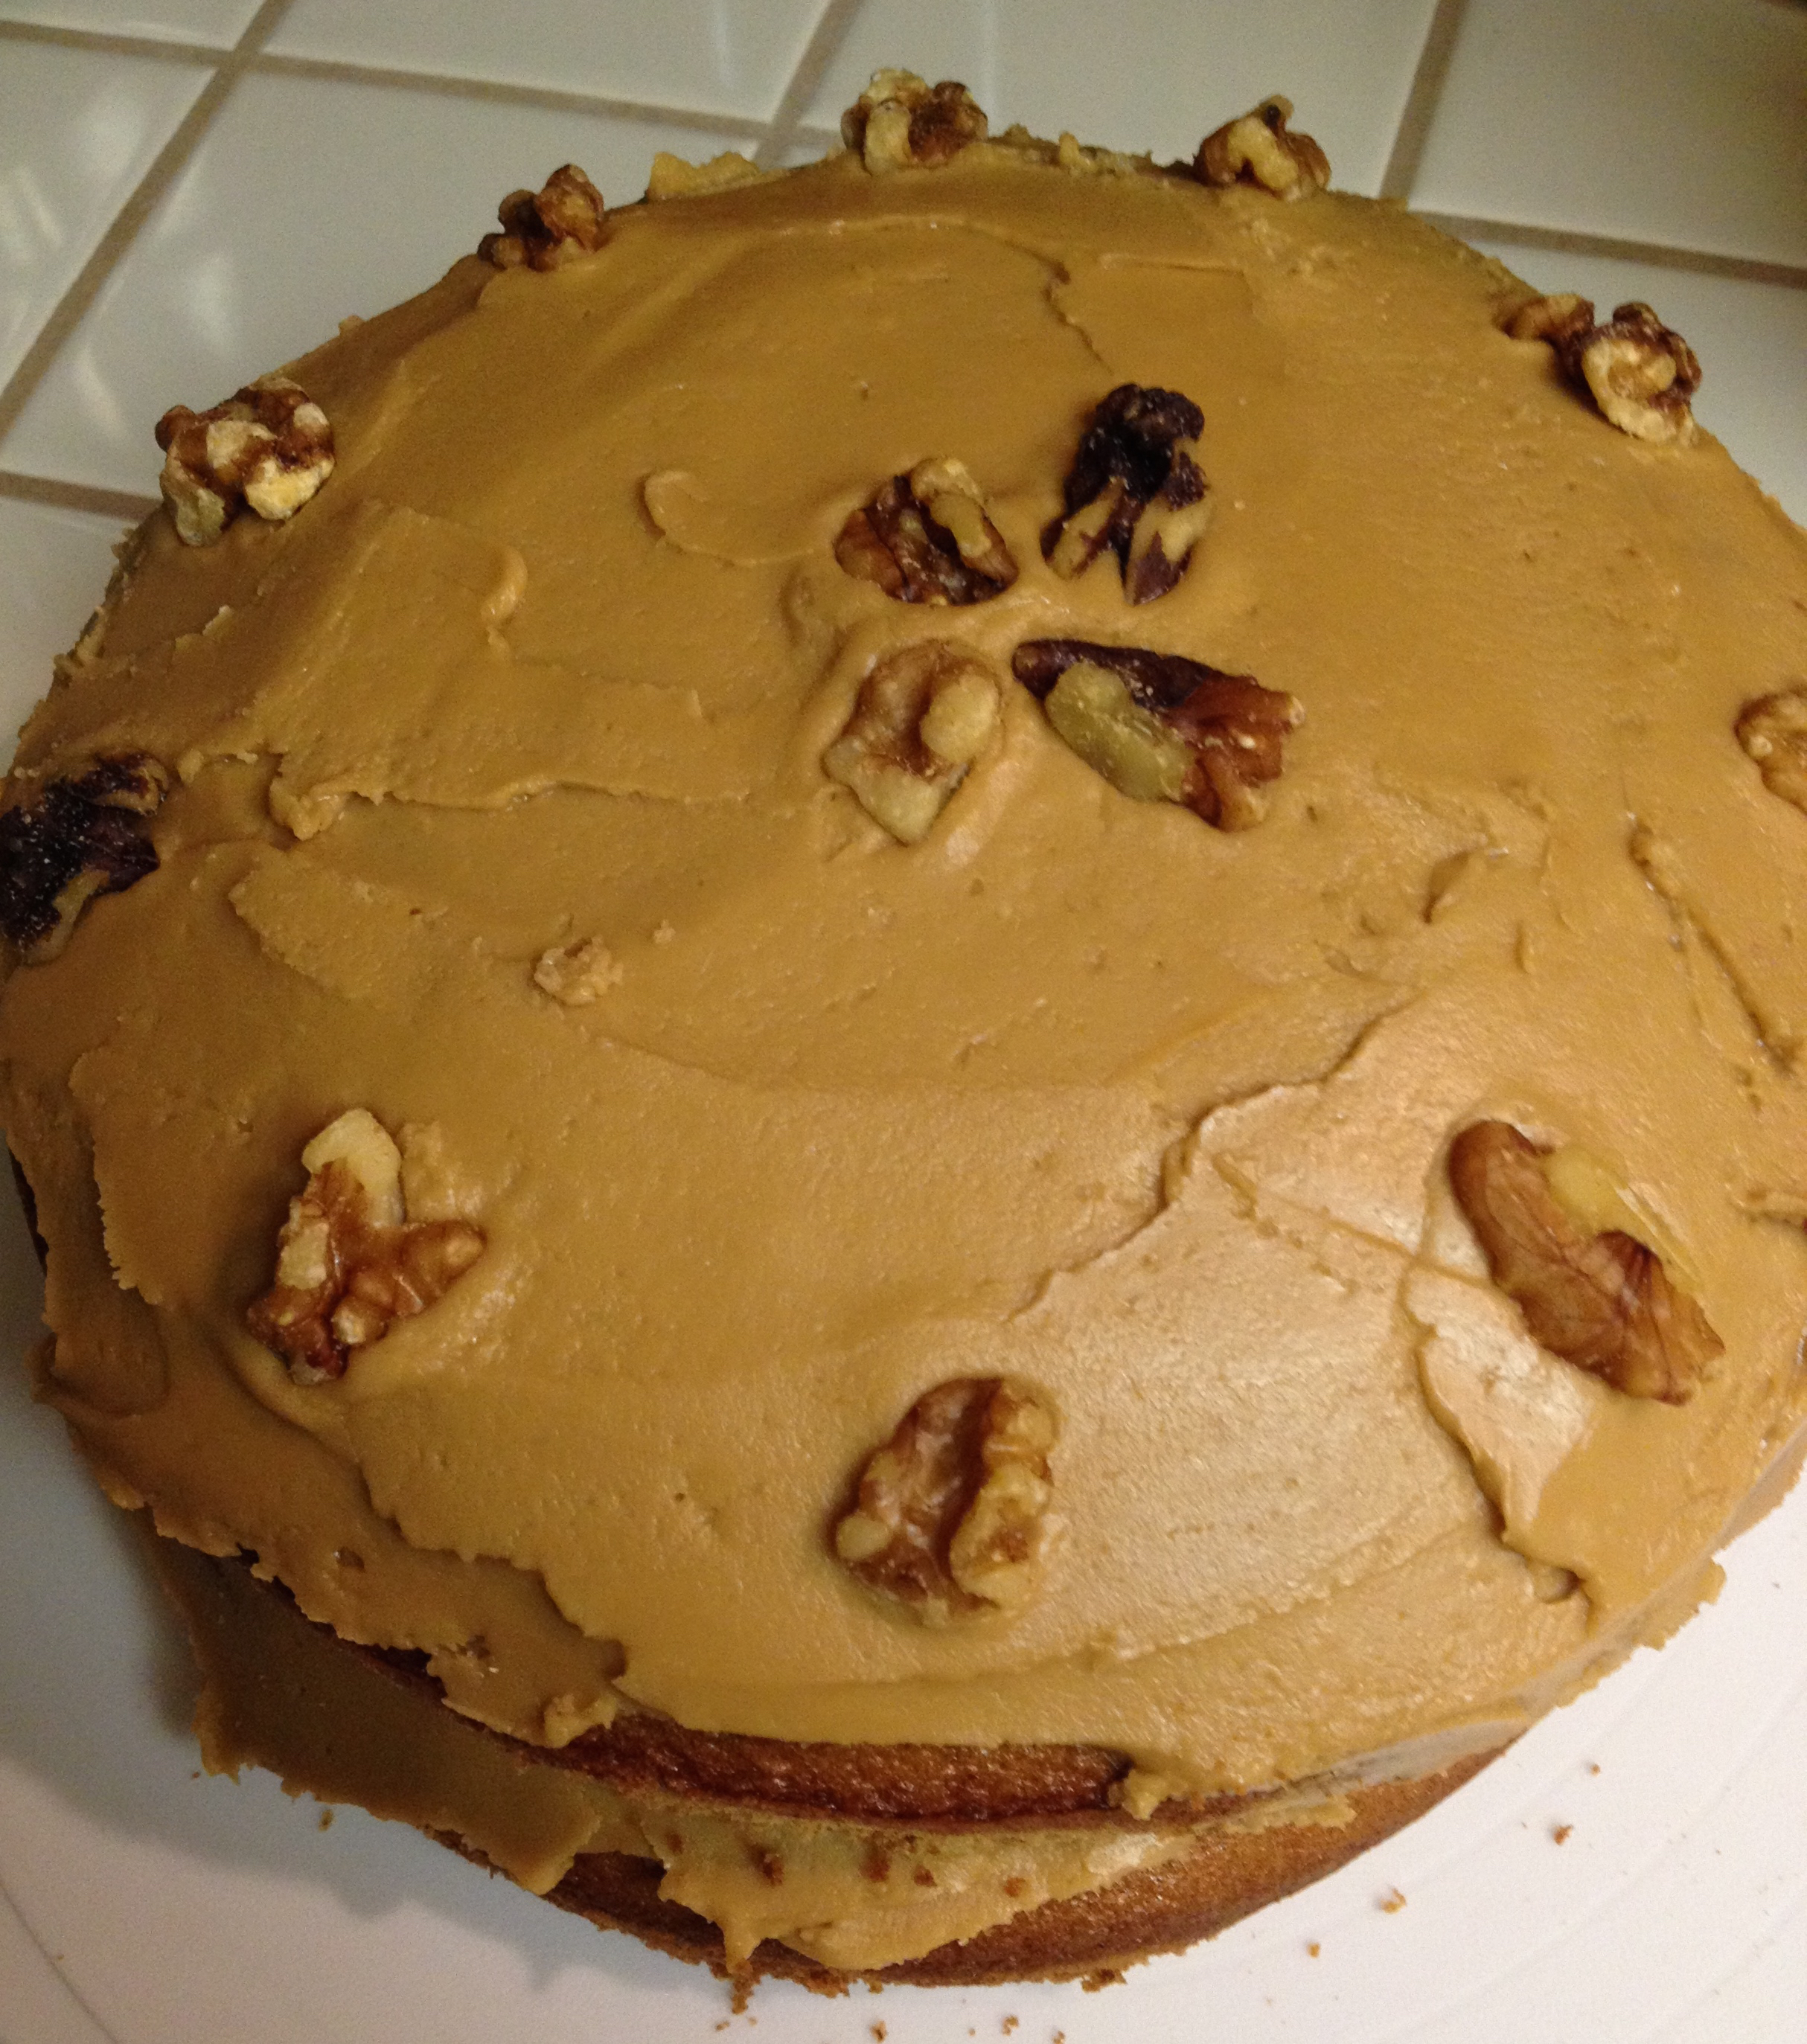
When a birthday calls for coffee and walnut cake …

My husband’s birthday is this month and I surprised him by making his favorite cake – a coffee and walnut cake. I first tried a recipe for this time last year and this year, I went back to it. If it’s not broken, why fix it, right?
Nigella Lawson’s recipe (from her “Nigella Kitchen” cookbook) proved again to be such a winning, no-nonsense recipe that I vowed to make it my go-to cake (which is exactly what I said last year). My husband adored it. My kids licked their plates clean and begged for more. And really – it is the easiest recipe. The problem, I fear, is that “coffee and walnut cake” still conjures up some mental images of slaving in the kitchen, crushing walnuts with my bear hands, agonizing over brewed espresso, and so forth and so on, that I’m actually immobilized when I think of making it, even when I rationally know it was easy enough to do the last time around.
I will let this blog post be a little pep talk to my future self. Self, make this cake again! It tastes amazing and is really shockingly fool-proof! Oh yes, and as a general buttercream frosting phobe, I must add that the espresso-ed up buttercream frosting is ridiculously delicious and would make anyone a believer.
Here’s the recipe again!
COFFEE AND WALNUT LAYER CAKE
For the sponge
1/2 cup walnuts (pieces)
1 cup plus 2 tablespoons superfine sugar
2 sticks unsalted butter (soft (plus some for greasing))
1 1/3 cups plain flour
4 teaspoon(s) instant espresso powder
2.5 teaspoon(s) baking powder
½ teaspoon(s) baking soda
4 medium egg(s)
2 tablespoon(s) milk
For the buttercream frosting
3 1/4 cups powdered sugar
1 1/2 sticks unsalted butter (softened)
2.5 teaspoon(s) instant espresso powder, dissolved in 1 tablespoon boiling water
approximately 10 walnut halves
Preheat the oven to 350 degrees. Butter the 2 8-inch round cake pans and line the base of each with parchment paper.
Put the walnut pieces and sugar into a food processor and blitz to a fine nutty powder.
Add the 2 sticks of butter, flour, 4 teaspoons espresso powder, baking powder, baking soda and eggs and process to a smooth batter.
Add the milk, pouring it down the funnel with the motor still running, or just pulsing, to loosen the cake mixture: it should be a soft, dropping consistency, so add more milk if you need to. (If you are making this by hand, bash the nuts to a rubbly powder with a rolling pin and mix with the dry ingredients; then cream the butter and sugar together, and beat in some dry ingredients and eggs alternately and, finally, the milk.)
Divide the mixture between the 2 cake pans and bake in the oven for 25 minutes, or until the sponge has risen and feels springy to the touch.
Cool the cakes in their tins on a wire rack for about 10 minutes, before turning them out onto the rack and peeling off the parchment paper.
When the sponges are cool, you can make the buttercream.

To make the frosting:
Pulse the powdered sugar in the food processor until it is lump free, then add the butter and process to make a smooth icing.
Dissolve the instant espresso powder in 1 tablespoon boiling water and add it while still hot to the processor, pulsing to blend into the buttercream.
If you are doing this by hand, sieve the icing sugar and beat it into the butter with a wooden spoon. Then beat in the hot coffee liquid.
Place 1 sponge upside down on your cake stand or serving plate.
Spread with about half the icing; then place on it the second sponge, right side up (i.e. so the 2 flat sides of the sponges meet in the middle) and cover the top with the remaining icing in a ramshackle swirly pattern.
This cake is all about old-fashioned, rustic charm, so don’t worry unduly: however the frosting goes on is fine. similarly, don’t fret about some buttercream oozing out around the middle: that’s what makes it look so inviting.
Gently press the walnut halves into the top of the icing all around the edge of the circle about 1/2 inch apart.
Cuts into 8 generous slices.
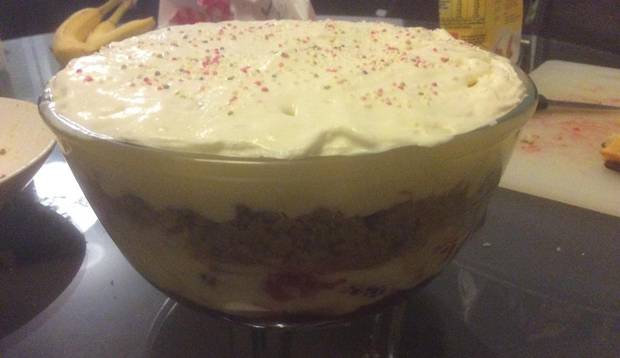
One American’s English trifle

Strawberry Trifle. Photo credit: Susan Jones.
Did anyone else hear the summer trifle story that was featured on NPR’s “All Things Considered” this week?
As part of their Taste of Summer recipe contest, they asked readers to submit their favorite “found recipes” and Indiana resident Susan Jones submitted this recipe for strawberry trifle, which she found on a country walk one day. (Presumably someone had thrown out lots of recipes and this was among the stack). It turned out to be a winning recipe for Jones.
One look at the recipe would make any Brit shudder. It’s a completely Americanized version of trifle, made with – horror of horrors! – Cool Whip and cream cheese. And having said that, I should add that I haven’t made it, but I can also nearly guarantee that it is absolutely delicious. Cool Whip + strawberries + angel food cake = an instant winner, no matter how you cut it. Blasphemous but true!
Recipe: Strawberry Trifle
16 ounces cream cheese, softened
2 1/2 cups powdered sugar
12 ounces whipped cream or Cool Whip
1 teaspoon vanilla
1 angel food cake
3 quarts fresh strawberries
1/4 cup sugar
Fresh mint
Mix cream cheese and powdered sugar until creamy. Add whipped cream and vanilla. Cut angel food cake into small squares. Slice all but 3 or 4 strawberries. Gently mix sliced berries in bowl with 1/4 cup sugar; let sit for 15 minutes. Cover the bottom of a large trifle dish (clear, stemmed bowl) with a layer of the cake squares. Follow with a layer of cream cheese mixture, then strawberries. Alternate, ending with the cream cheese mixture on top. Garnish with reserved whole strawberries and mint leaves. Refrigerate for an hour before serving.
